
 Serena Wang
 Jessica Shee
Table of Contents:
- 1. Can Mounty for NTFS support macOS Ventura?
- 2. Can Mounty for NTFS support macOS Monterey?
- 3. Are there any alternatives to Mounty for NTFS?
- 4. FAQs about Mounty for NTFS
When you want to write to an external hard drive on your Mac, you may find the Mac external hard drive read-only in any version of macOS or OS X, even the latest macOS Tahoe 26.
One of the reasons is that the external drive is formatted with the Windows NTFS file system, and you can read the NTFS drive on Mac, but can't write to NTFS on a Mac.
Fortunately, with the help of a reliable NTFS for Mac App, you can read/write NTFS drives as you wish, and Mounty for NTFS, is one of the most popular free NTFS for Mac software.
Quick Compatibility Table of Mounty for NTFS
| macOS | Compatibility | Mechanisms |
| macOS Ventura and newer (Golden Gate incl.) | Yes | Require additional setups - macFUSE and NTFS-3G setup |
| macOS Monterey and earlier | Yes | Utilize macOS's native, hidden NTFS capabilities |
Can Mounty for NTFS Work on macOS Golden Gate, Tahoe - Ventura?
Yes, but the installation is now a bit more complex. For those who are running on macOS Golden Gate - Ventura, enable NTFS read and write access with macFUSE + NTFS-3G + Mounty!
And the whole installation procedure relies on Homebrew and Terminal. You can individually download and install Homebrew and Mounty for NTFS from their official websites. Or download and install all the Mounty combinations (Homebrew, macFUSE, NTFS-3G, and Mounty) in Terminal.
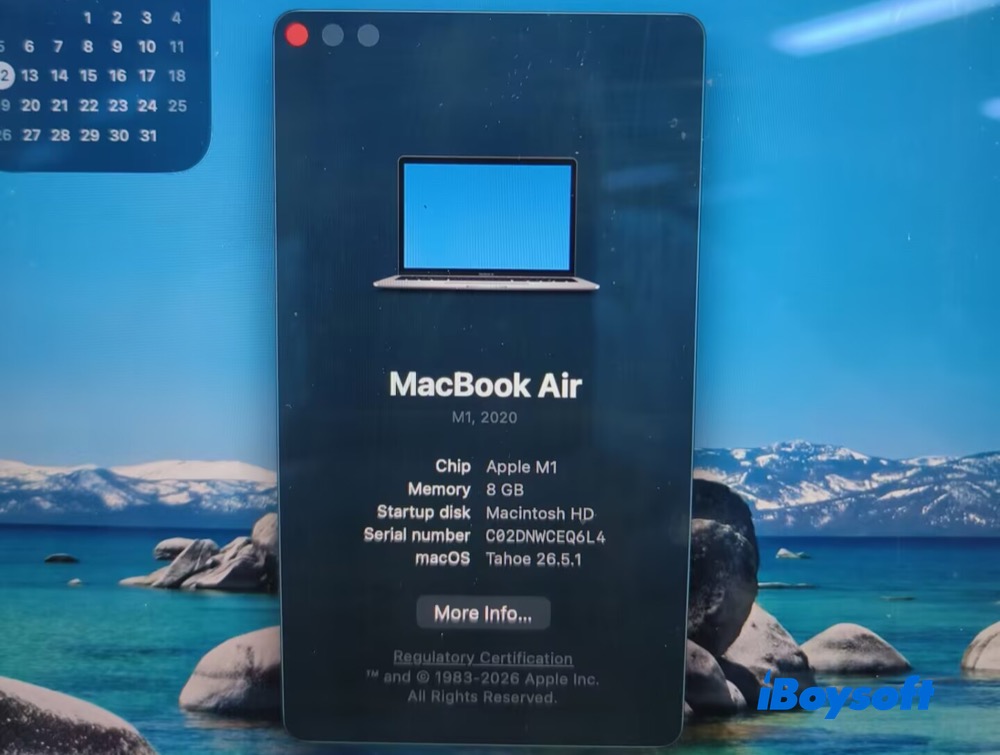
Here I'd like to share with you my personal experience for your reference. I'm running on an M1 MacBook Air (2020) with macOS Tahoe 26.5.1.
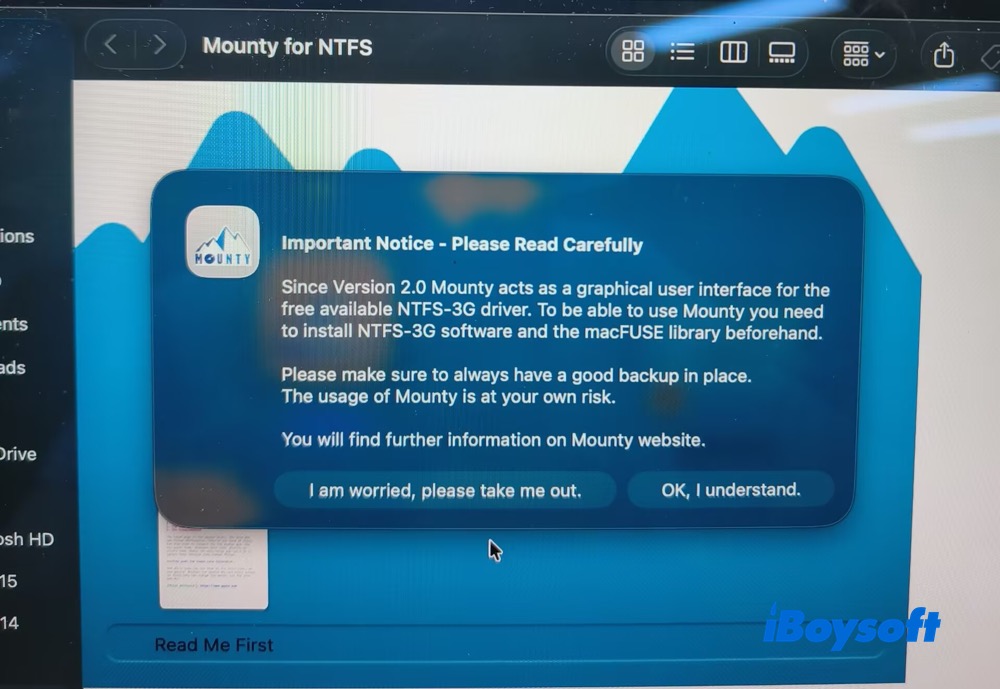
1. I accessed to Mounty for NTFS official website and planned to directly download Mounty latest version 2.4. Yes, it was successfully downloaded on my M1 MacBook Air. It gave me a notice (macFUSE and NTFS-3G needed beforehand).
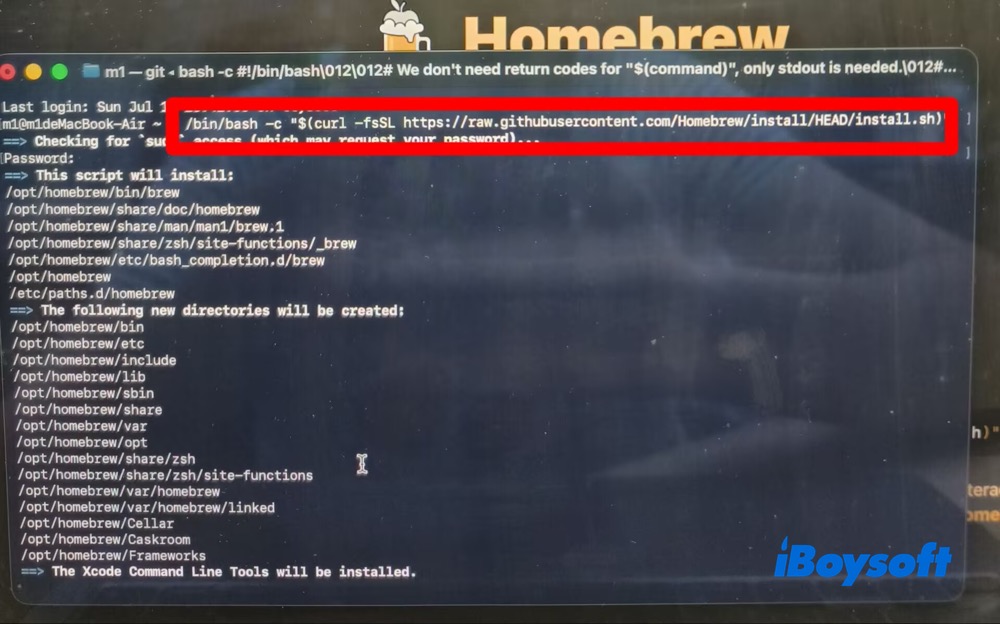
- 2. I carefully read the introduction on the Mounty official webpage, and it recommends downloading the Mounty combination via Terminal. The installation command lines are all included on this webpage. I tried downloading Homebrew via Terminal first. Open Terminal > insert the command below:
- /bin/bash -c "$(curl -fsSL https://raw.githubusercontent.com/Homebrew/install/HEAD/install.sh)"
However, I only got error reports after waiting a while - Error: Failed to download ruby from the following locations; Error: Failed to install Homebrew Portable Ruby (and your system version is too old)!
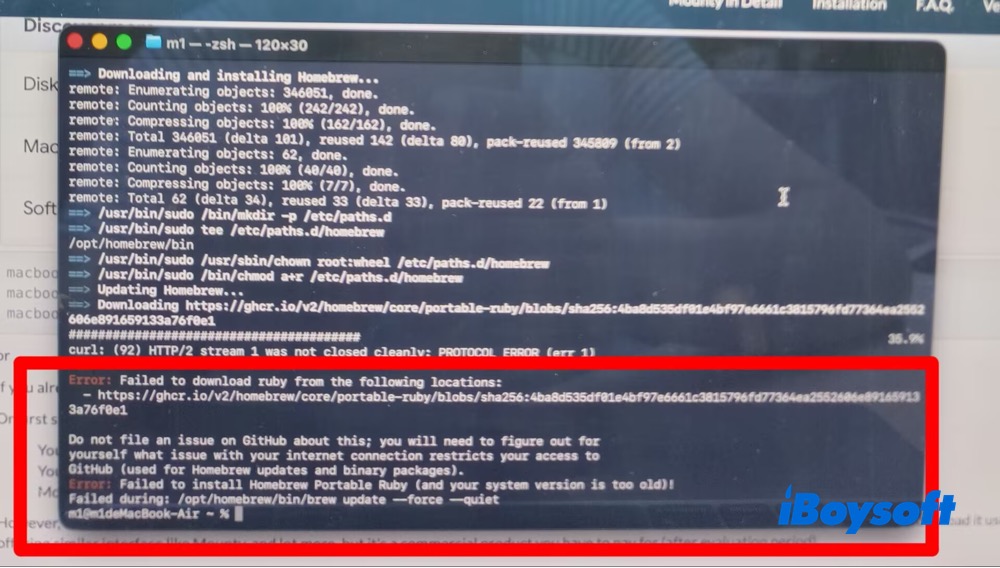
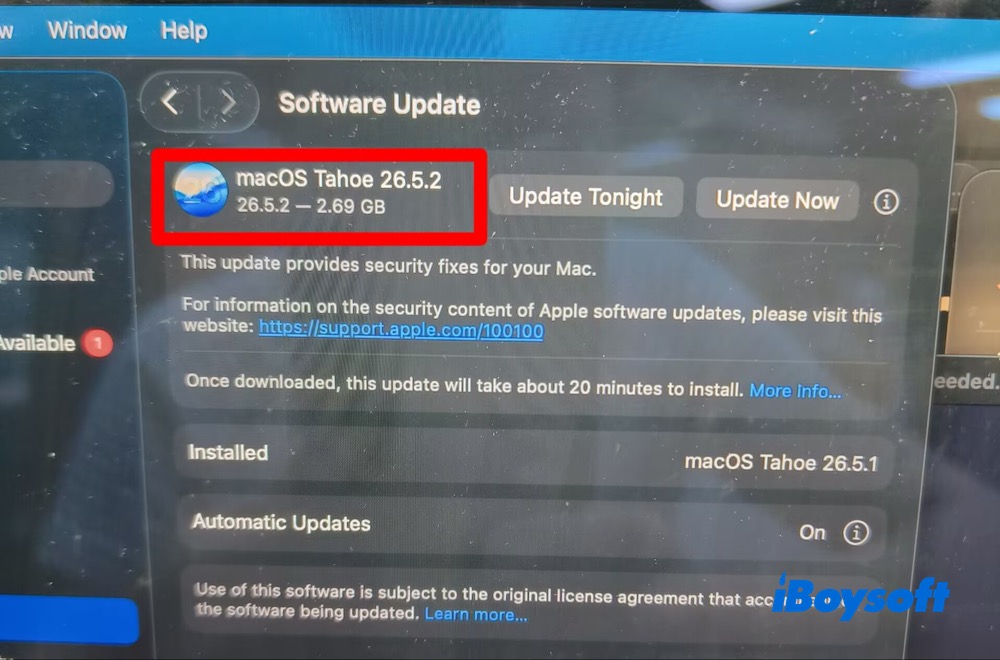
I checked the Software Update in System Settings. It offered the newer version of OS - macOS Tahoe 26.5.2. But I didn't plan to update macOS at that time (it would take a lot of time).
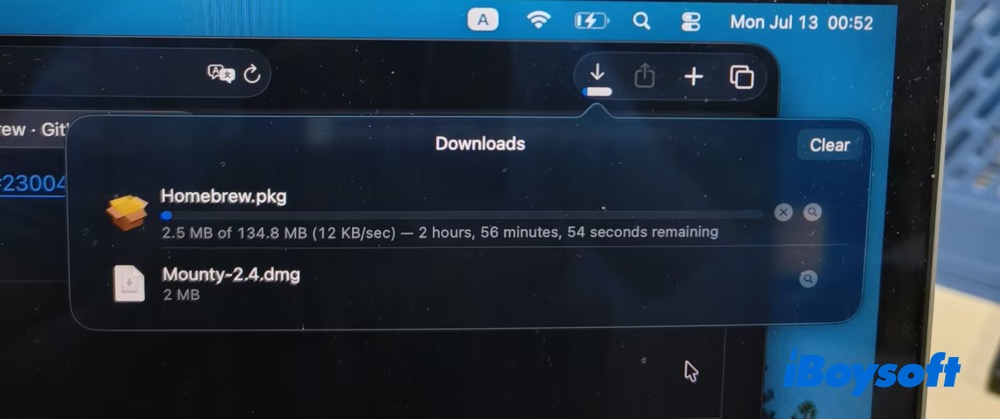
I preferred downloading Homebrew.pkg from its website. The Homebrew.pkg is downloading, but it needs 2 hours, 56 minutes, and 54 seconds. That's really time-consuming. Comparatively speaking, you'd better install Homebrew via Terminal.
3. After Homebrew.pkg download and installation are completed, I go ahead to Terminal again and enter the following command line to install macFUSE:
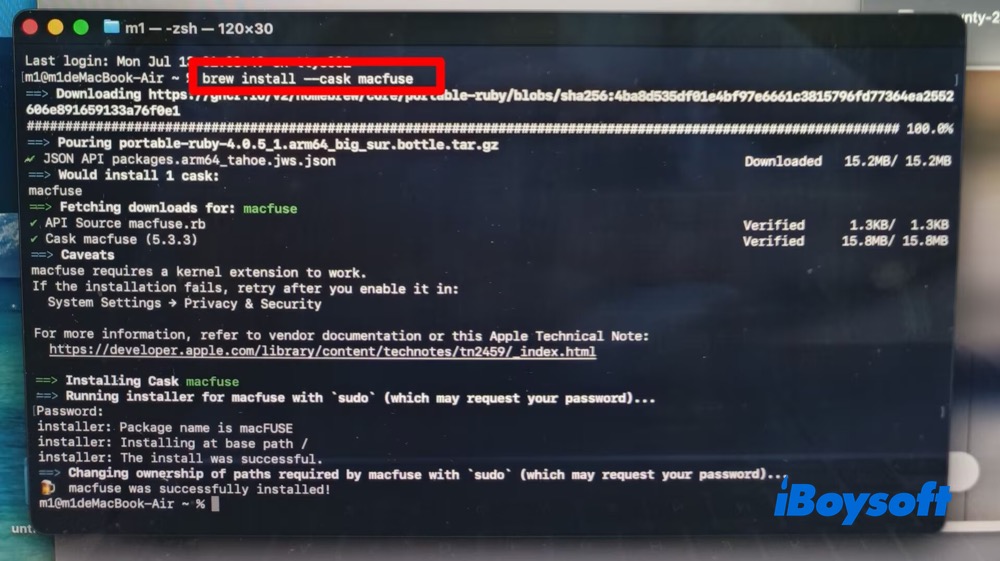
Later, I enter my password and press Enter as required. Wait a second for macFUSE installation to complete.
4. I went back to mounty.app webpage and copy the following command line to Terminal to install NTFS-3G:
brew install gromgit/fuse/ntfs-3g-mac
5. After NTFS-3G is installed, I launched Mounty for NTFS. On first startup of Mounty, I was asked to give full disk access to Mounty, trust the macFUSE library (signed by "Benjamin Fleischer") in Settings -> Privacy and Security, and trust the NTFS-3G kernel driver. Then, restart my MacBook Air.
6. I connected my NTFS drive (not a BitLocker-encrypted one) to my Mac, and re-launched Mounty for NTFS. Found the Mounty icon in the menu bar of the screen > tapped its icon > clicked “Show Untitled in Finder”.
My NTFS drive was open in Finder, and I could successfully copy files from the Mac to my NTFS drive. The NTFS drive was in read-write mode.
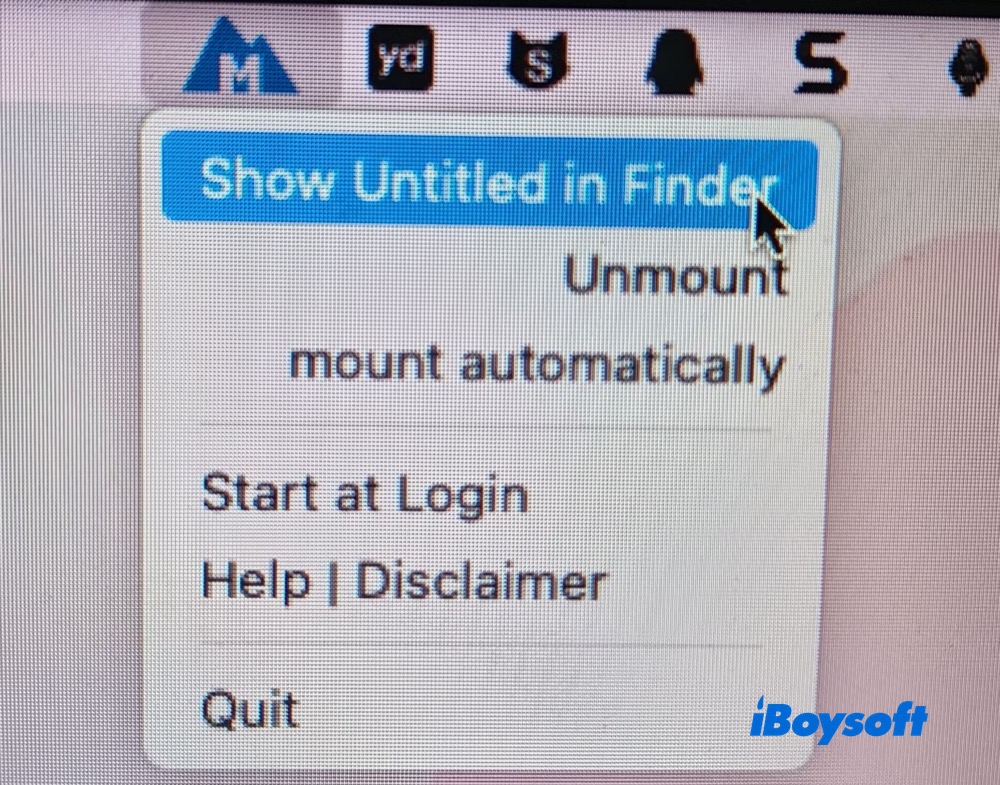
The colour of the Mounty icon represents different states. Take a glance at your Mounty icon color to judge its status.
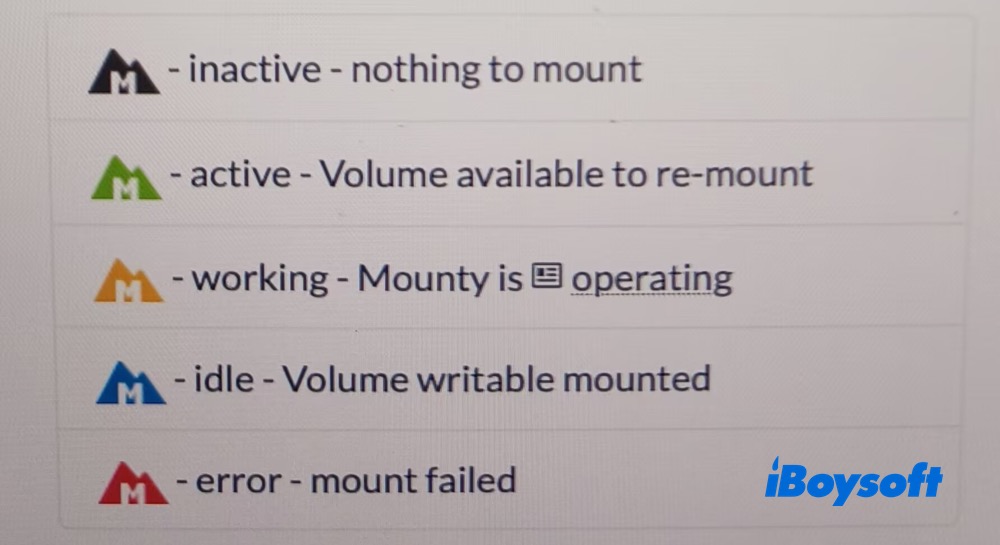
I was able to get my NTFS drive working in read-write mode with Mounty on my macOS Tahoe 26.5.1, but the setup experience was frustrating. The process involved troubleshooting Homebrew installation issues and took roughly four hours, largely due to Homebrew setup.
For users who need dependable NTFS read/write support on modern macOS, a dedicated commercial NTFS driver is likely a better choice than the Mounty + macFUSE + NTFS-3G approach.
Note: This Mounty combination on newer macOS (Tahoe to Ventura) can be buggy and time-consuming. Therefore, you're not supposed to use an unstable combination (like Mounty for NTFS) if your NTFS drive contains significant file data.
Meanwhile, in case of drive corruption or file loss, prioritize restoring data via a reliable Mac data recovery utility and stop any further writes to the NTFS drive.
Can Mounty for NTFS Work on macOS Monterey and Earlier?
Yes, it can. So far, it supports macOS Mavericks 10.9 to macOS Tahoe 26. For macOS Monterey and earlier, Mounty does not need the setups of macFUSE and NTFS-3G. In these older versions, Mounty simply exposed Apple's hidden built-in NTFS write capability by remounting NTFS volumes in read/write mode.
If you want to learn more about NTFS drivers, follow: NTFS Driver Tech Evolution.
Is There Any Alternative to Mounty for NTFS?
Mounty for NTFS heavily relies on macOS's native (and officially unsupported) NTFS write protocols or macFUSE library & NTFS-3 for macOS. The whole installation procedure is not smooth and time-consuming.
If you require a simple, smooth, and highly effective approach, a professional commercial alternative - iBoysoft NTFS for Mac comes to be your silver bullet. It can auto-mount your NTFS drive in read-write mode, help you copy, edit, delete, and write files to NTFS drives without an extra driver or enabling a system extension. Your NTFS volumes work in Mac Finder like native drives, with rapid transfer speed and stable performance.
It's a legal NTFS for Mac read-write driver, not an NTFS drive crack tool or license bypass provider.
Plus, iBoysoft NTFS for Mac seamlessly works on macOS Golden Gate 27, Tahoe, Sequoia, Sonoma, Ventura, Monterey, and earlier, with both Intel and Apple Silicon M5-M1 models supported.
Quick Comparison Table between Mounty for NTFS and iBoysoft NTFS for Mac
| Items | Mounty for NTFS | iBoysoft NTFS for Mac |
| Setup | Complex, additional setups required | A simple drag-and-drop |
| Dependencies | macFUS + NTFS-3G | Integrated NTFS driver |
| Best for | Technical users, occasional use | Regular NTFS read-write workflows |
| Large File Transfer | Higher risk | Better fit for frequent file transfer |
| Stability | Potential risks for data corruption or drive errors | Complete 99.9% of test cases without errors. |
| Support | Limited | Product support |
| Product attribute | Free workaround | Dedicated NTFS read-write solution |
How to write to NTFS drive on Mac with iBoysoft NTFS for Mac?
Step 1: I downloaded iBoysoft NTFS for Mac version 9.0 on my M1 MacBook Air running macOS Tahoe 26.5.1, it works well with macOS 26. It now supports macOS Golden Gate 27, as well.
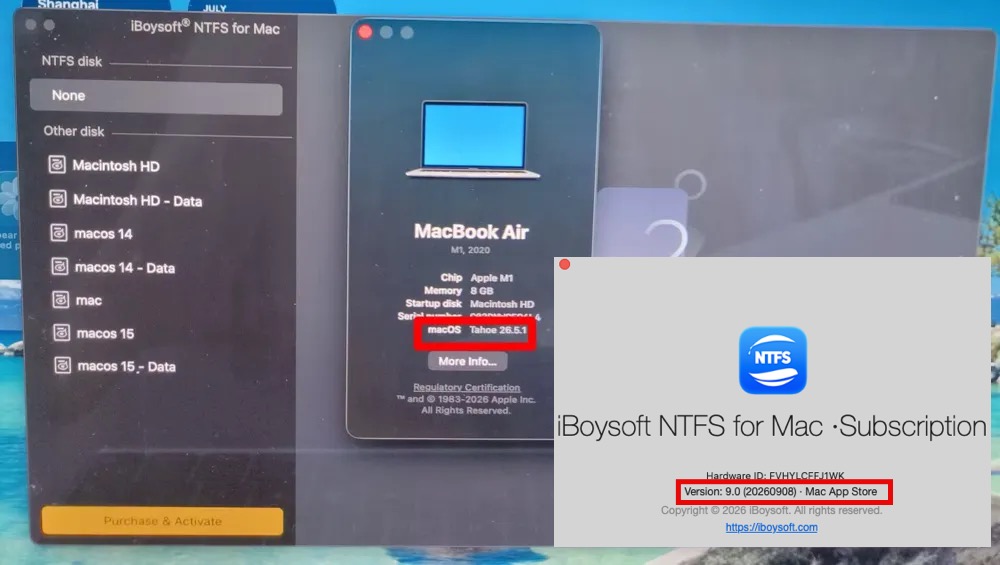
Beyond macOS Tahoe 26, I also tested its compatibility on my older Intel-based MacBook Air (2017) with macOS Monterey 12.7.6, and it delivers good compatibility. You don't need to worry about its compatibility now.
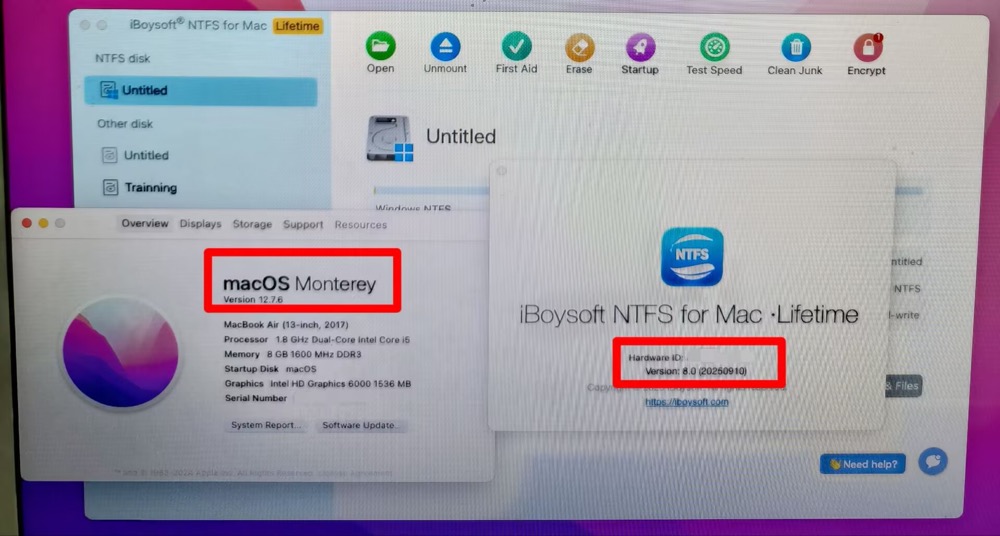
Step 2: Launch iBoysoft NTFS for Mac and insert the external Windows NTFS volume into Mac.
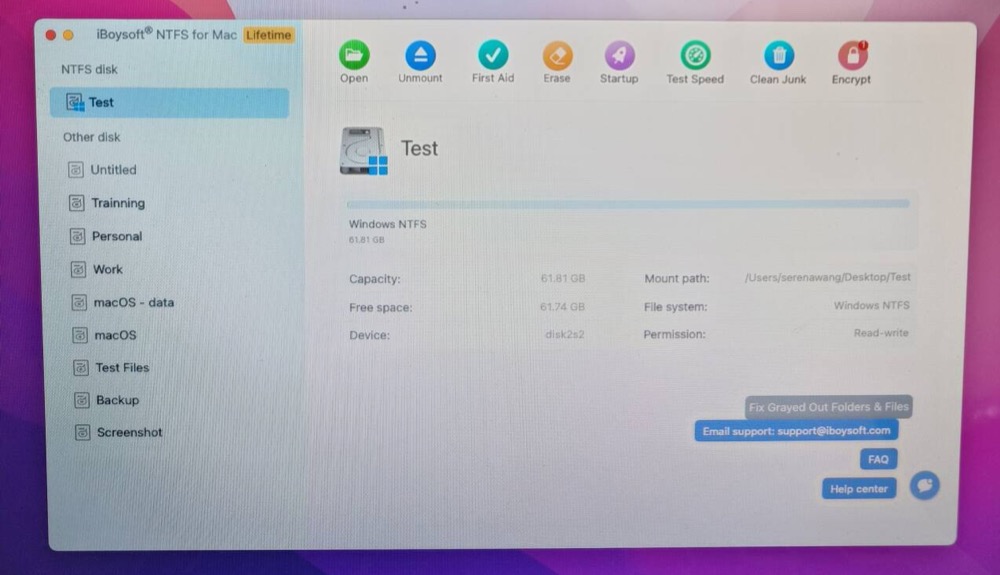
Step 3: Write to the external Windows NTFS volume after being notified that the drive has been mounted successfully.
NTFS-3G macOS: How to Read Write NTFS in macOS for Free?
Want to have full read-write access to your Microsoft NTFS-formatted drives for free on macOS? This post will introduce a free NTFS for Mac called NTFS-3G. Read more
Have you successfully used the NTFS drive on Mac via iBoysoft NTFS for Mac? Share it with more people.