
 Serena Wang
 Jessica Shee
Disk wiping helps protect your privacy by permanently erasing sensitive data and preventing unauthorized access. If you're looking for a reliable disk wipe tool, explore our list of the top disk-wiping programs to find the best option for securely erasing data from internal and external drives.
Before You Wipe a Disk
- Back up or recover any files you may need. Disk wiping is destructive and normally irreversible.
- Confirm the physical disk, partition, and capacity. Do not rely on a drive letter alone.
- Disconnect other storage devices when possible to reduce the chance of selecting the wrong disk.
- Check whether you are wiping an HDD, SATA SSD, NVMe SSD, USB flash drive, or SD card; the safest method differs by media type.
- If you need to wipe the Windows system disk, prepare a Windows installer or recovery environment first.
Quick Purpose Selector Table
Explore tailored recommendations based on your device type (SSD, HDD, USB flash drive, SD card, etc.) and intended purpose to quickly find the right solution and save time and effort.
| Your case | Recommended direction |
| Delete one file or folder | File shredder / secure deletion feature |
| Reuse an HDD | Full-disk overwrite or verified erase |
| Reuse an SSD/NVMe | Manufacturer secure erase/sanitize where available |
| Sell or dispose of a USB/SD | Device-specific secure erase to wipe computer before selling or physical destruction for high-risk data |
| Wipe C: | External/recovery environment and reinstall plan |
Top Disk Wipe Software Comparison Table
| Feature | iBoysoft DiskGeeker for Windows | Active@ KillDisk | ShredOS |
| Type | Windows disk manager and wipe toolkit | Dedicated disk erasure software | Bootable Linux-based erasure environment |
| Best for | Everyday Windows users | Home users, IT technicians, businesses | Technical users and IT administrators |
| Ease of Use | Easy | Easy to moderate | Moderate to complex |
| Wipe Methods | 7 wipe methods | 1 free method; 25+ standards in commercial editions | Multiple methods via nwipe |
| Wipe scope | Wipe disk, partition, free space, and shred individual files/folders | Wipe disk, partition and free space | Wipe disk |
| HDD support | Yes | Yes | Yes |
| SATA SSD Support | Yes | Yes | Yes |
| NVMe SSD support | Conventional wiping where drive is recognized | Supported functions vary by edition | Yes; nvme-cli available |
| USB flash drive support | Yes | Yes | Yes |
| Erase active Windows system disk | Not in the ordinary Windows session | Yes, through included bootable media, even with Freeware | Yes, by booting ShredOS |
| Verification | Dedicated read-back verification not clearly documented | Advanced erase verification in paid editions | Verify last pass, every pass, or none |
| Permanently erase data | Yes | Yes | Yes |
| Free limits | Download available; secure-wipe entitlement requires license confirmation | One-pass zeros, maximum 2 simultaneous erasures for personal use | No license or wipe-count limits |
Based on this comparison, iBoysoft DiskGeeker for Windows stands out as an excellent choice for disk wiping. Download it and give it a try!
Share the top Windows disk wipe software with others to help them clearly understand the differences between these applications.
Windows Disk Wipe Software Test Environment
| Test Filed | Details |
| Hardware | ACPI x64-based PC (2 processor cores) |
| OS | Windows 11 (Other Windows compatibilities come from their official product webpages) |
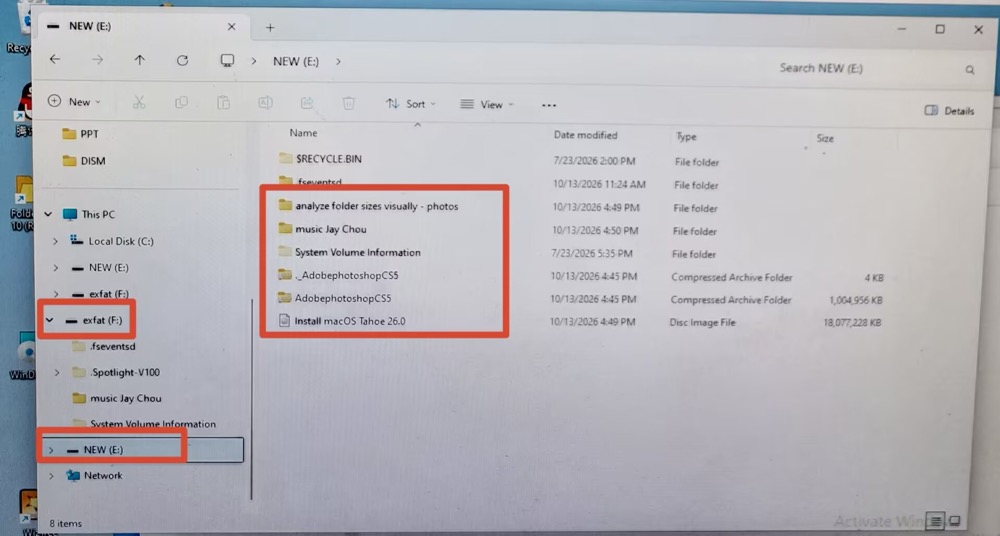
| Disk type | HDD disk (Seagate RSS BUP Slim 1TB) with 1 NTFS partiton called “NEW”, 1 exFAT partition called “exfat” and 3 HFS+ partitions |
| Media | macOS Tahoe 26 ISO image file, photos, audio, and RAR file |
| Wipe mode | Wipe Partition |
| Total test time | 2 weeks |
Disk Wipe Software - iBoysoft DiskGeeker for Windows
Best for everyday Windows users
Overview:
iBoysoft DiskGeeker for Windows is an all-in-one disk management and erasure tool. Compared with the other two erasure tools, it stands out for its simplicity and user-friendly design, featuring a modern interface that requires no technical expertise. In our tests, it was also the fastest tool for wiping a partition.
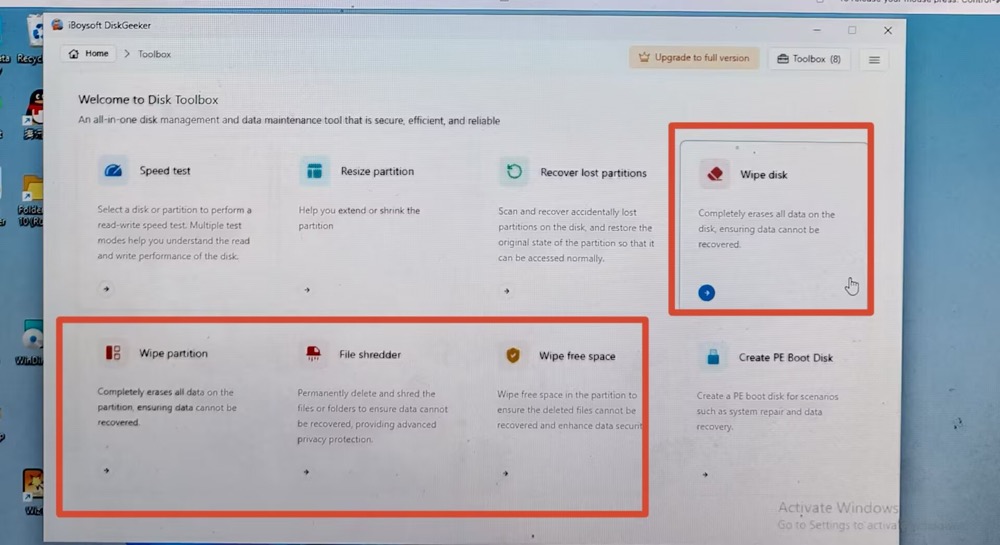
It follows user privacy protection rules and won't cause any corruption on the disk during the data erasure. And it provides 7 data wiping methods, namely one pass zeros, one pass random, British HMG IS5, US Dod 5220.22- M(E), US Dod 5220.22-M(ECE), Peter Gutmann, and Russian GOT P50739-95 to wipe disk, partition, free space, or to shred individual files or folders from SSD, HDD, USB drive, SD card, etc. mainstream storage devices.
How to use iBoysoft DiskGeeker for Windows
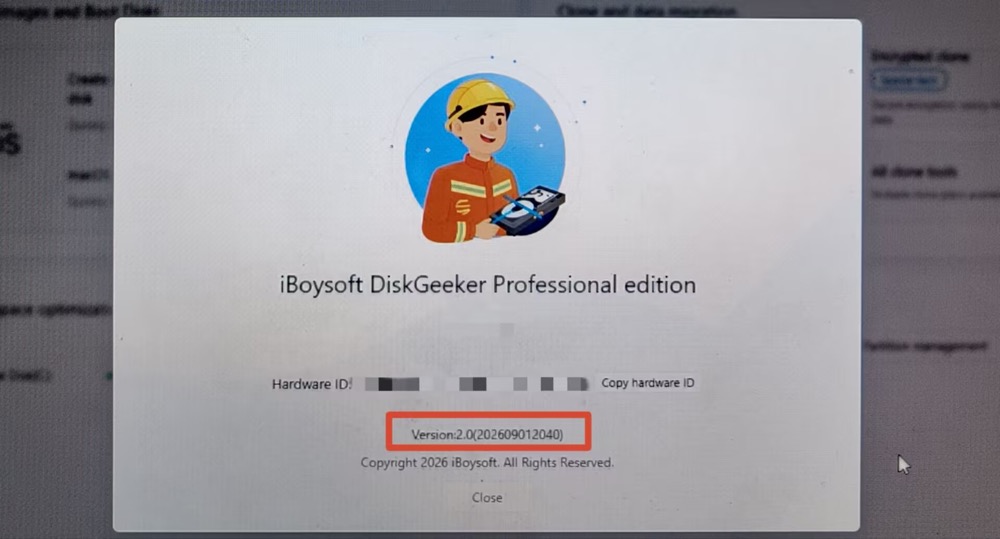
- Free download, install, and launch iBoysoft DiskGeeker for Windows version 2.0 on my Windows 11.
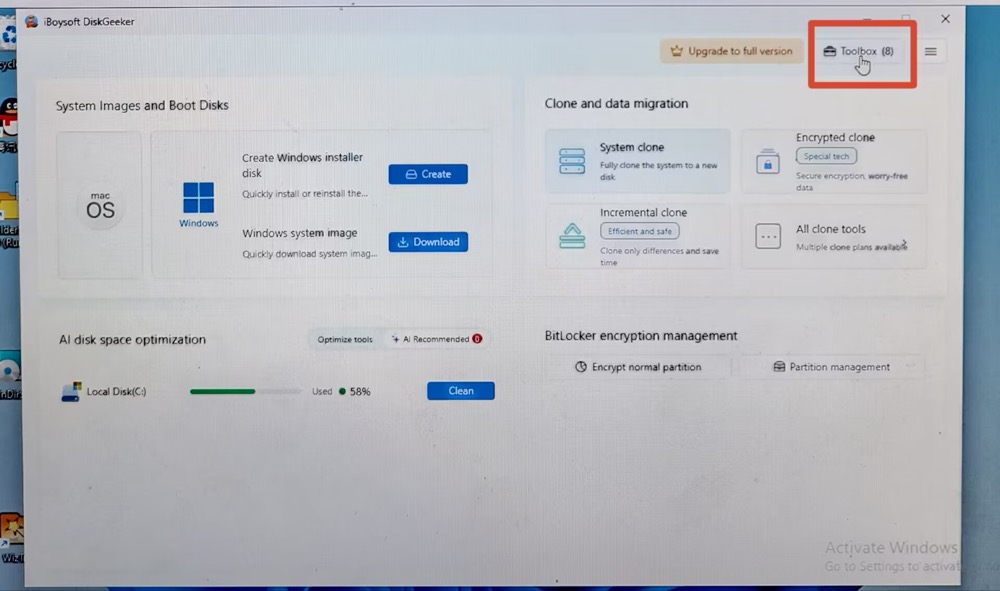
- Click Toolbox in the upper right corner of the main interface.
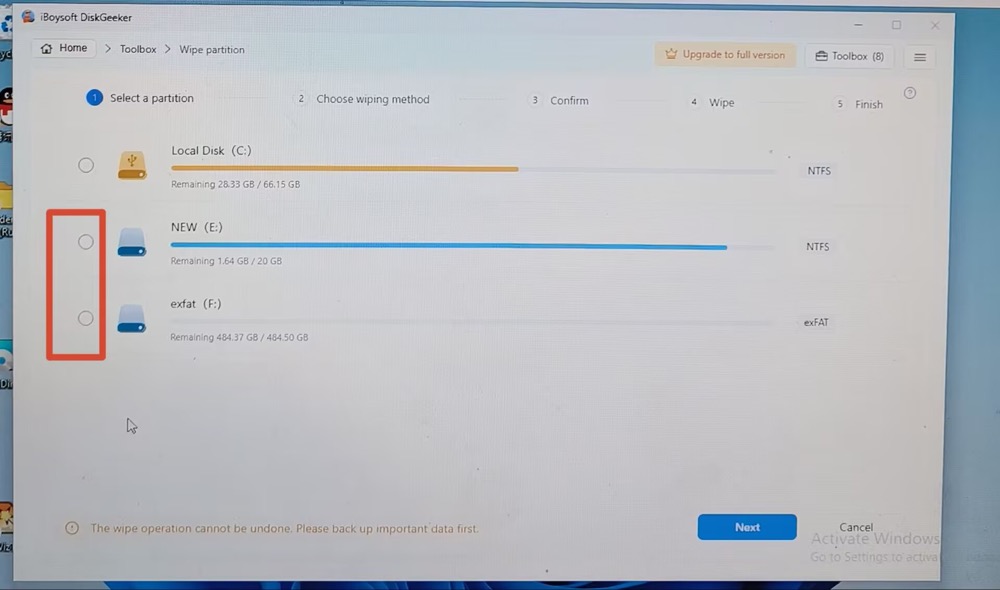
- This Windows disk eraser software shows me 4 wipe modes, including wipe disk, wipe partition, file shredder, and wipe free space. I chose "Wipe partition" here to wipe my "NEW" partition. You can wipe the C drive here. (If you only want to wipe a specific file or folder, choose File Shredder.)
- I chose NEW (E:) > clicked Next.
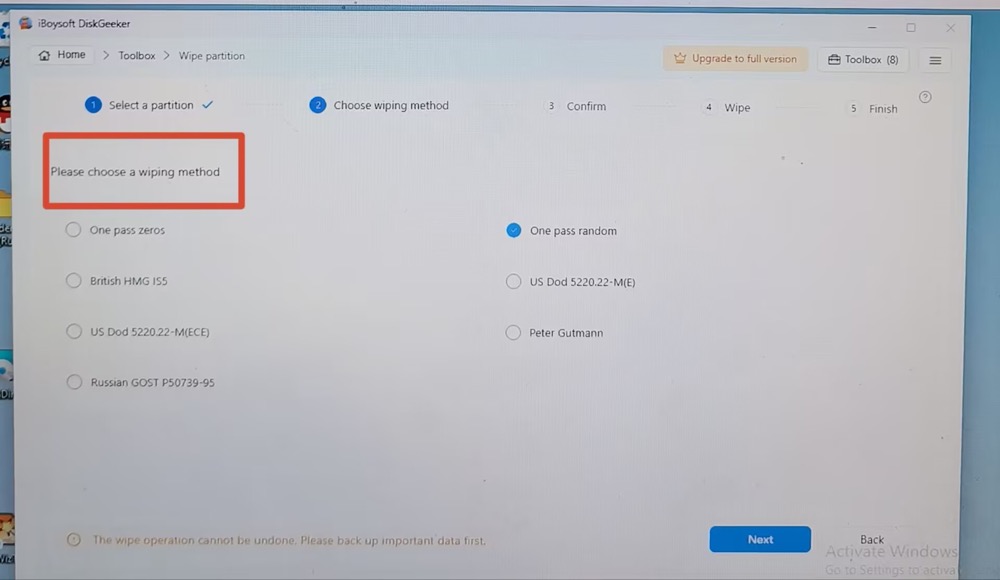
- Select a wiping method and click "Next".
-
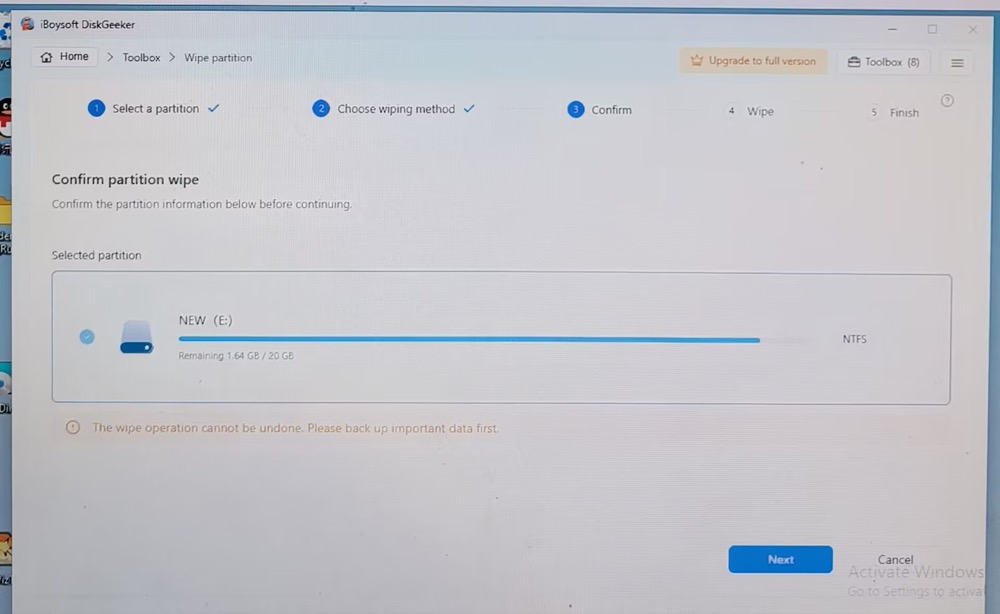
Confirm partition wipe and click "Next". Be noted that the wipe operation can't be undone. Back up important data first.
- Click "Wipe" on the confirmation window and wait for the erasure to complete. (During the disk wiping process, you can pause the operation, but any data that has already been erased cannot be recovered.) It took 13 minutes 28 seconds to complete the whole partition wipe.
Then, I reopened my NEW partition and confirmed that all its data had been erased. The space on drive E: was successfully freed up, with no impact on any other partitions.
- Pros:
- Fast erasure speed
- Support free data erasure
- Easies one in this 3 disk wipe programs comparison
- Wipe disk, drive, free space, and selectively individual files/folders
- Wipe USB drive, HDD, SSD, SD and more
- Confirm before you start wiping the drive
- Have technical support
- Cons:
- No phone support
- Not erase active Windows system disk
- Irrecoverable after erasure
Disk Wipe Software - Active@ KillDisk
Best for Home users, IT technicians, businesses
Overview:
Active@ KillDisk is a secure data wipe solution to erase data from a disk or partition, and to wipe unallocated or free space on a drive. It's unable to selectively shred individual files or folders.
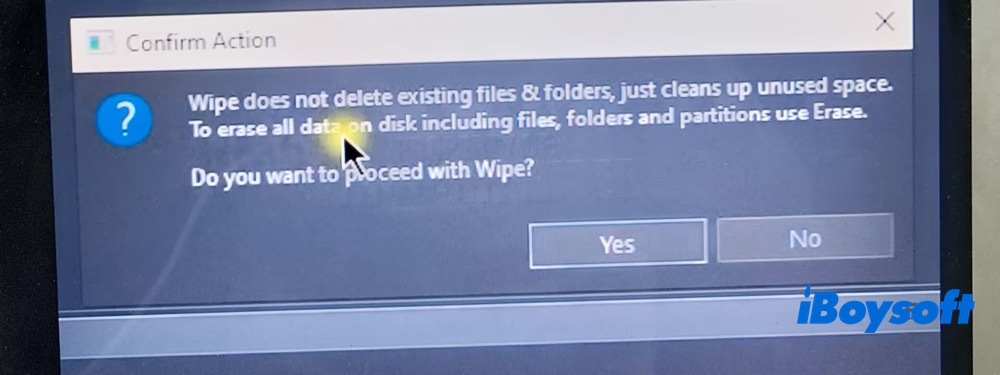
Meanwhile, in my test, it's very common to get confused between Erase and Wipe features. The Wipe feature aims to wipe free space while Erase is used for erase data from drives or partitions.
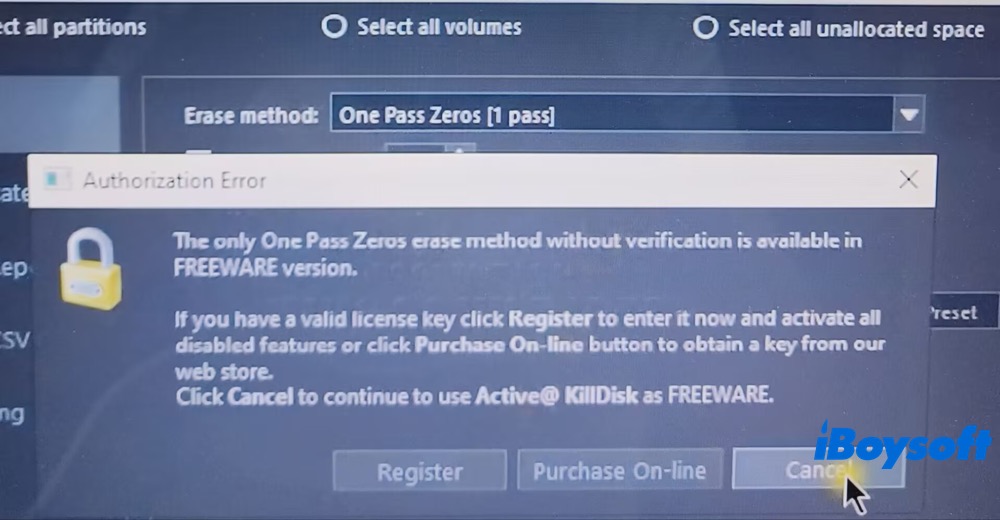
What it stands out from others is its 25 international data sanitization standards in its commercial edition. You can get more flexible solutions if you need to wipe data for businesses, professionals or other organizations. In the free edition, only one free method - One Pass Zeros is available.
How to use Active@ KillDisk to wipe disk?
1. Download, install and launch Active@ KillDisk free version 25.0 x64. I used its freeware version for non-commercial use.
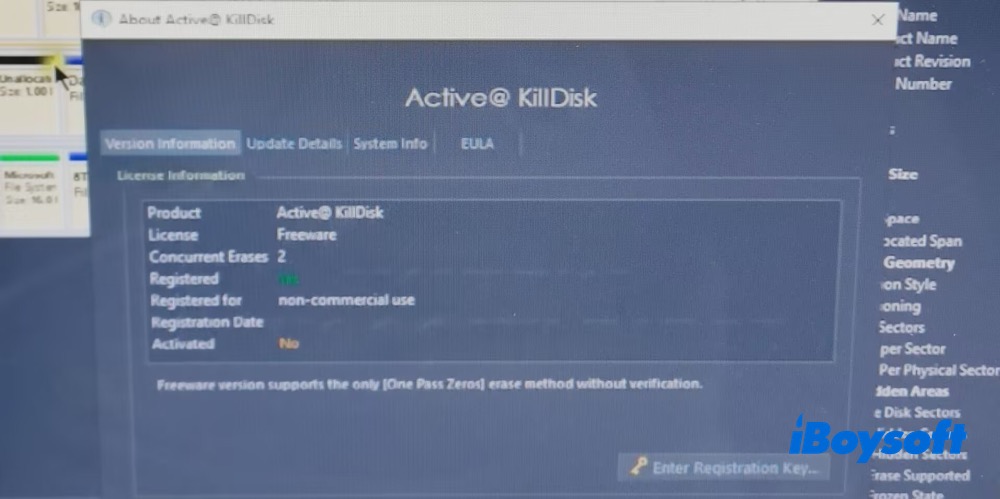
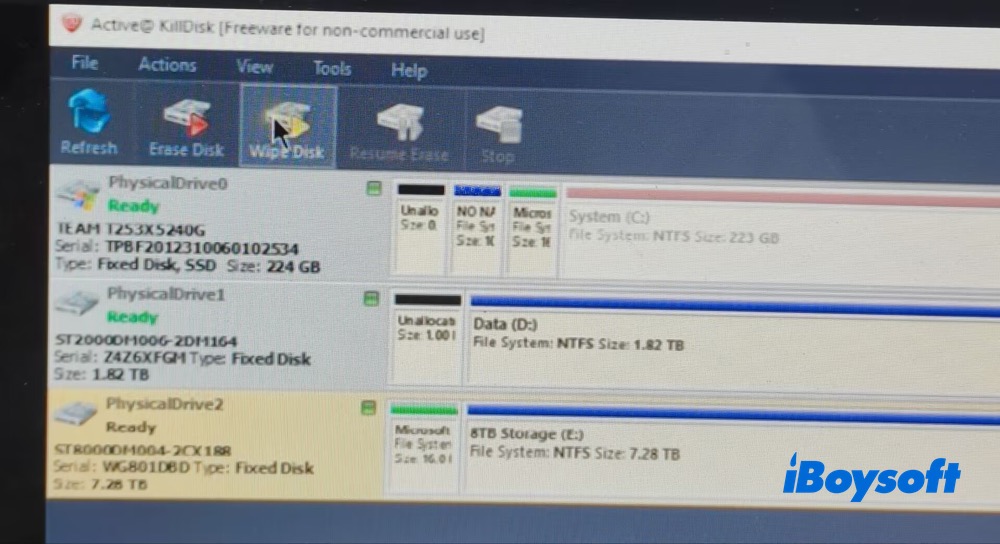
2. Connect my HDD Seagate disk and the physical drives are listed on the left panel of its home screen.
3. I choose the partition I want to wipe and click "Wipe Disk" in the top menu.
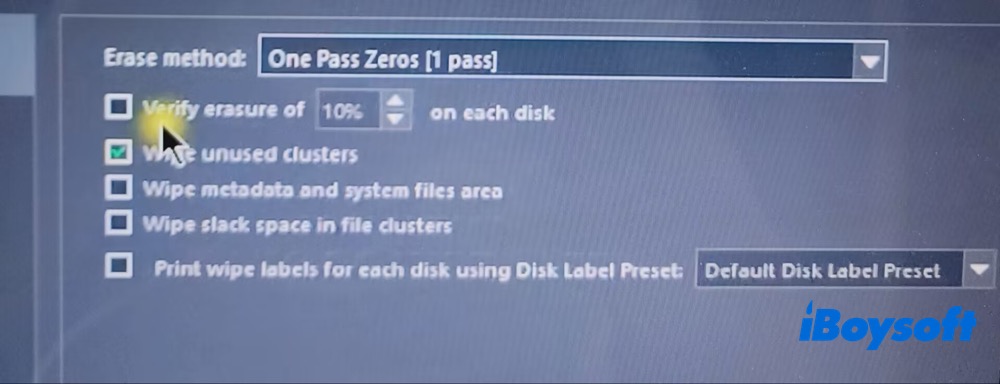
4. Choose Erase method. The default one is One Pass Zeros [1 pass]. I keep the default setting.
Note: When you select another erasure method, such as One Pass Random, US DoD 5220.22-M, or US-DoE M205.1-2, a pop-up message will appear informing you that the freeware version only supports One Pass Zeros without verification. To use other erasure methods, you must register the software.
5. Click Start. A Confirm Action pop-up window appears, explaining that the "Wipe" feature does not delete existing files or folders; it only wipes unused disk space. To permanently erase all data on the disk, including files, folders, and partitions, you must use the "Erase" feature instead. This distinction is not immediately clear and can easily lead to confusion about the software's "Wipe" and "Erase" features.
6. I had no choice but to go back to the home screen and chose "Erase Disk" this time.
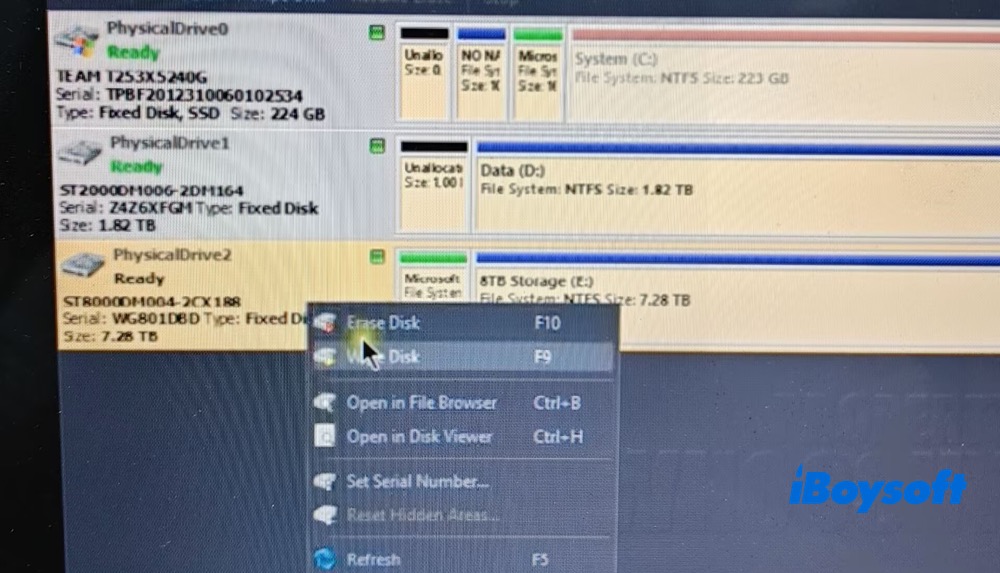
7. Repeated the previous steps, including the erase method, typed the keyphrase in the Confirm Action window, and clicked the Start button.
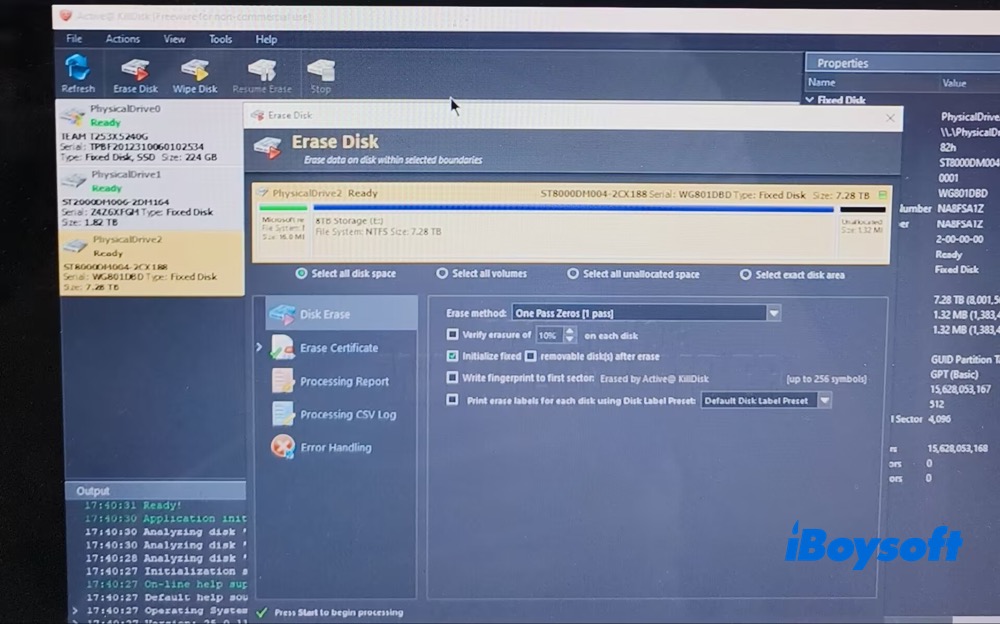
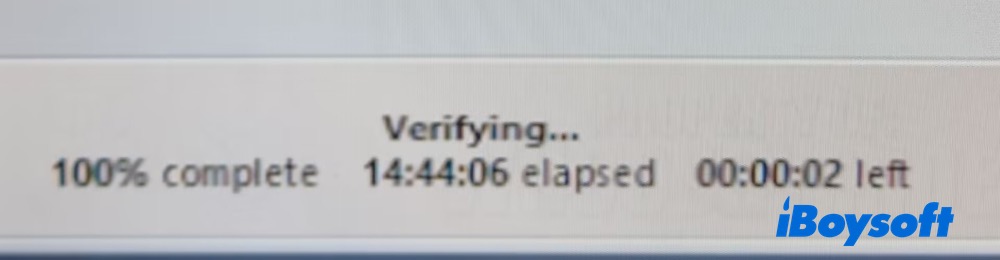
8. Wait for the data erasure in my partition NEW. The time it took was 14:44:08.
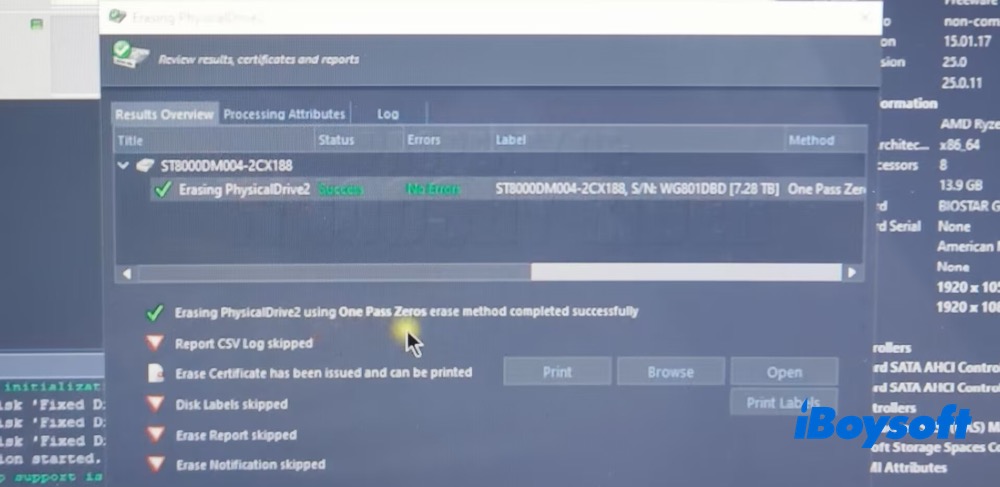
9. This Windows disk eraser software automatically goes back to the main interface and shows the results overview, including title, success status, no errors, label, and method.
- Pros:
- Wiping speed is rapid in the actual test
- Supports two simultaneous disk erasures in Freeware
- Free-space wiping and disk inspection utilities
- Commercial editions provide advanced verification, hidden-zone handling, and automation
- Cons:
- Wipe and Erase features confuse users
- Only 1 erase method - one-pass zero wiping available in free edition
- More advanced erase standards and custom patterns require upgrading
- SSD firmware sanitization capabilities depend on the edition and hardware
Keep reading if you want to know how to wipe a MacBook safely and completely.
Free Disk Wipe Software - ShredOS
Best for technical users and IT administrators
Overview:
First things first, ShredOS is free and open source data wiping solution. BUT, it's comparatively complex. You need to create a bootable USB drive first and then boot to ShredOS to conduct the disk/partition wiping. It's not friendly to ordinary users.
It offers most of the features found in Windows disk erasure software, including broad device support (HDDs, SSDs, USB drives, etc.) and multiple wiping methods. Even better, it comes with no usage limits. However, you'll have to put up with ad redirects before you can download the ISO file, and its text-based, old-fashioned interface.
How to use ShredOS to free wipe data from disk?
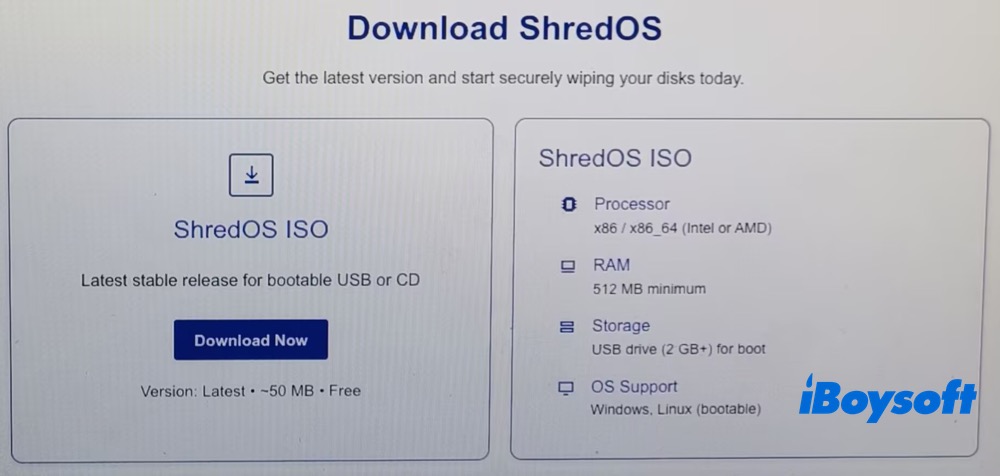
- 1. Go to ShredOS official website and click "Download Now" to download ShreadOS ISO latest version 2024.11.27 x86 (85MB).
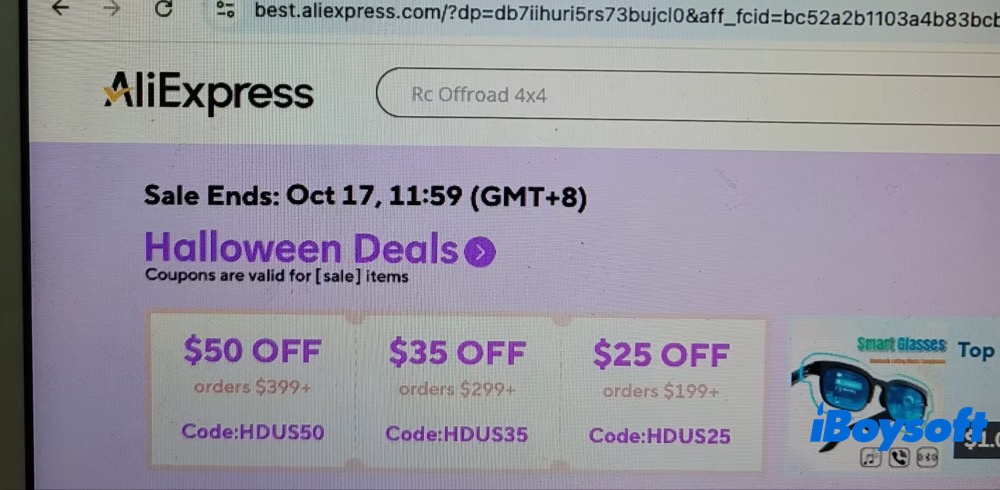
The download didn't start right away. Instead, I was redirected to the AliExpress store page. Since this Windows data-wiping tool is free and open-source, I guess this might be one way for its developers to keep the project alive.
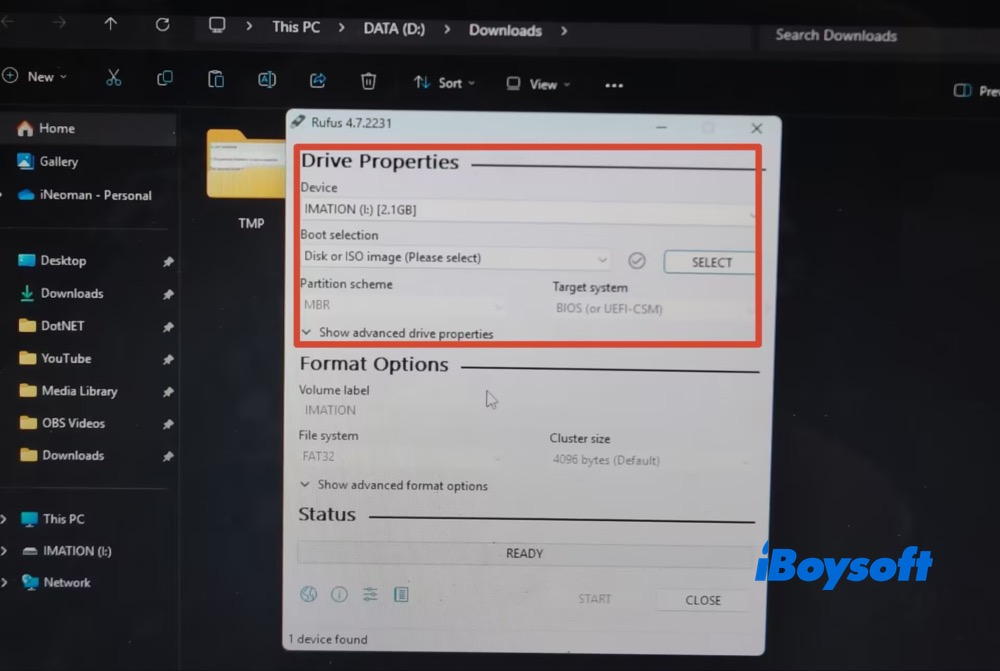
2. Use a tool like Rufus to create a bootable USB > insert the USB into your computer and restart > choose device, boot selection, partition scheme, target system and restart. ShredOS will load from the USB.
Booting ShredOS from a USB drive involves a complicated process, especially for beginners. This can make it less user-friendly and intimidating for the average user.
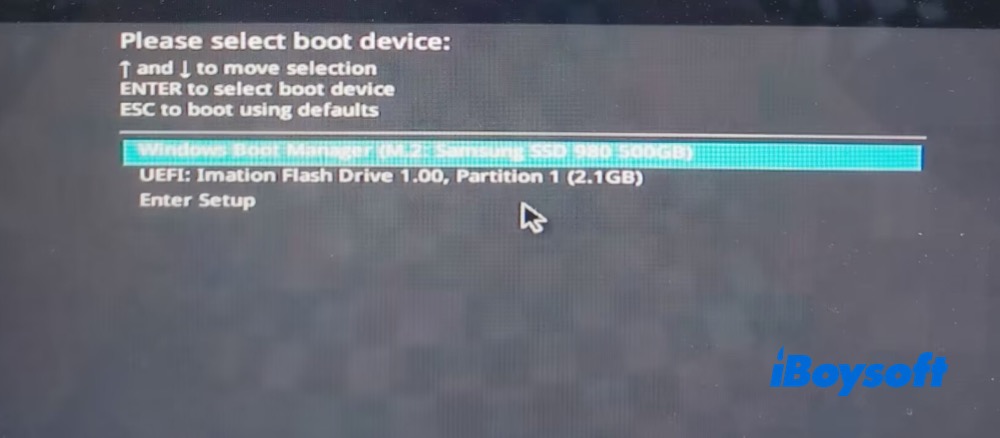
3. Click Start to begin the ShredOS bootable USB flash drive. Once done, close Rufus and other programs, restart Windows PC and boot into ShredOS.
4. Enter the ShredOS interface. Press F on the keyboard to enlarge front size if you think it too small.
5. Once ShredOS starts, it automatically detects connected storage devices, including internal HDDs, SSDs, and external USB drives. It displays each drive's name, capacity, and partitions, helping you identify the correct drive to wipe. Choose the partition you want to wipe.
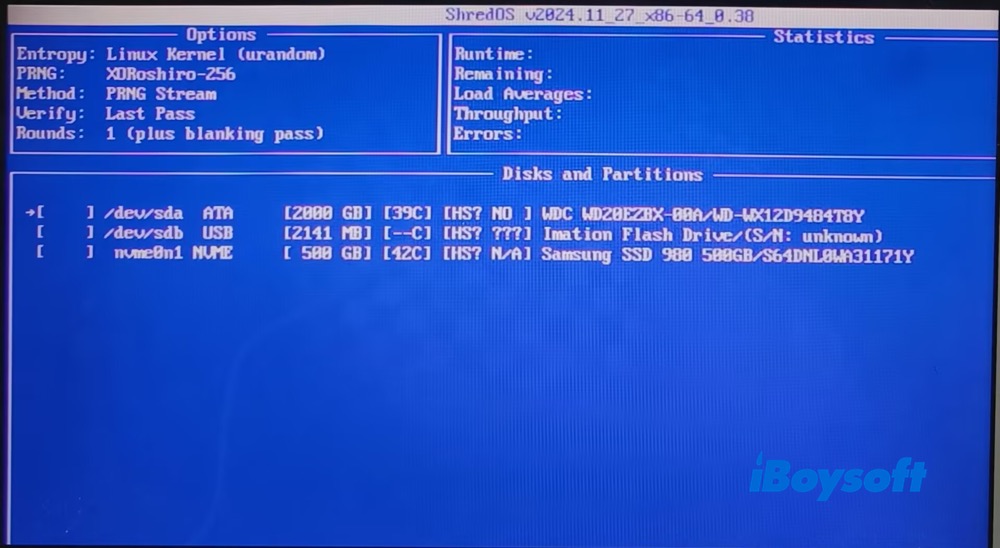
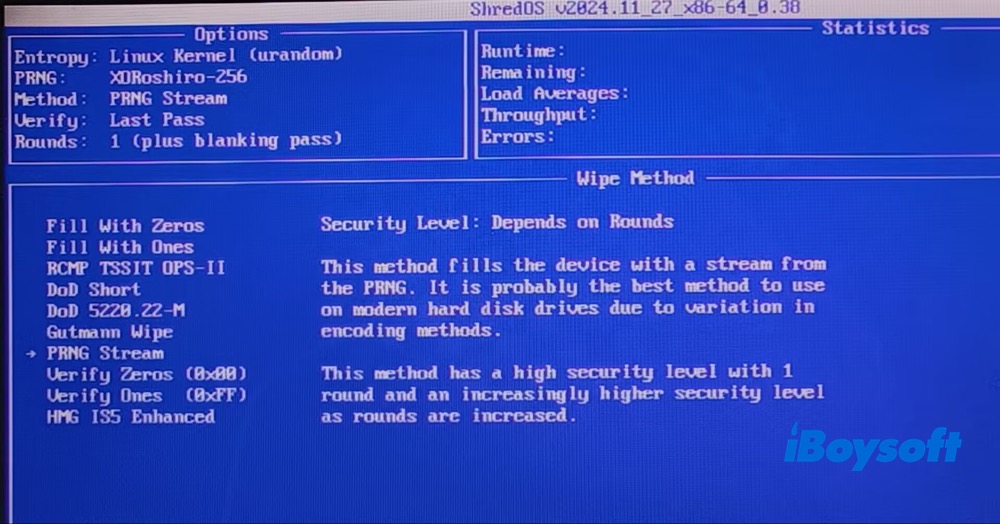
6. Choose wipe method. It covers Zeros, Ones, RCMP TSSIT OPS-11, DoD Short, Gutmann Wipe, PRNG Stream, etc. Here I chose PRNG Stream for the test.
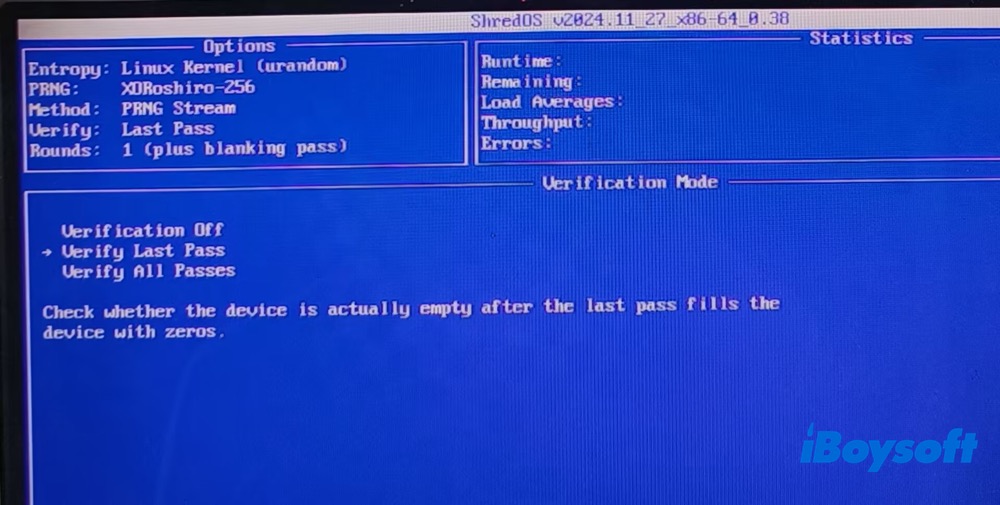
7. Enter Verification Mode. Check your partition and press Shift+S to start wiping the data on the selected partition. This process might take minutes to hours to complete depending on your drive's capacity. My tested partition erase took 51 minutes and 38 seconds.
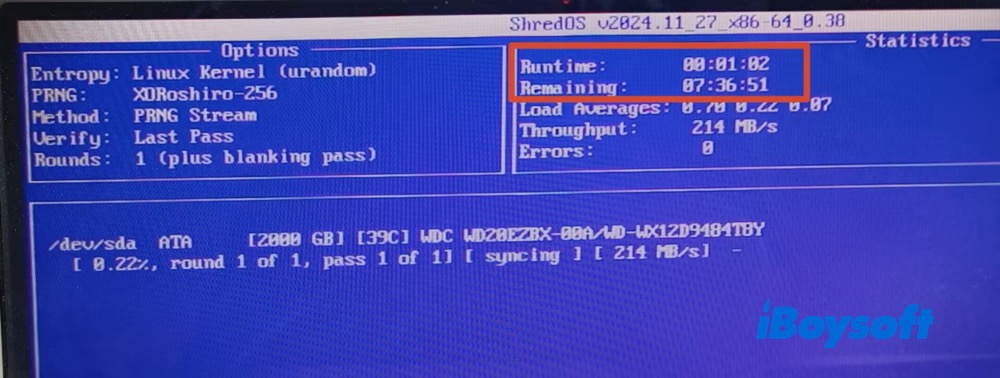
And in my other 200 GB hard disk wiping test, it took roughly 7 hours and 36 minutes. Please be patient.
- Pros:
- Fully free and open source
- No erasure-count or license limits
- Multiple overwrite methods
- Can erase multiple disks simultaneously
- Cons:
- The slowest one in actual test
- Complicated. Require creating bootable media and boot to ShredOS
- Text-based interface has a learning curve
- SSD firmware sanitization requires separate commands and technical knowledge
Summary
In short, choose iBoysoft DiskGeeker for Windows for ease of use and selective wiping, Active@ KillDisk for dedicated erasure and professional reporting, or ShredOS for free, advanced, whole-disk sanitization. Regardless of your choice, always back up important data and select an erasure method appropriate for your storage device, particularly when wiping SSDs.
If you think this article is helpful, please share it with more people.